
Wall Mounted Jewelry Organizer – DIY Leather Strap
One of the main problems that comes with being able to make your own jewelry is where to put all the jewelry that you make!!

I’m always searching for pieces I’ve stashed away in a cupboard for safekeeping so I’ve decided to get all of my favourite items and put them on display using these leather tabs and the Concrete Hexagon Coaster tutorial I shared with you a few weeks back. These tabs can be hung on a wall, door or inside a wardrobe for concealed storage. It’s up to you!

Materials you’ll need for jewelry holder wall:
- Leather
- Colourful eyelets
- Cutting mat and rotary cutter
- Hammer
- Leather hole punch
- Steel bench bloke (or hard surface)

Instructions to craft the jewelry holder wall:
Step 1: Cutting leather
Cut strips of leather 1 1/4″ thick. Make them double the length you want them to hang. Using a rotary cutter and mat will give you neat edges but you can also use scissors as well.

Step 2: Folding
Fold the strips in half so that the back of the fabric is touching. Line up all the edges.

Step 3: Hole punch
Holding the leather together in place use you hole punch to create a hole through both of the layers of leather in the middle of the strip.

Your hole needs to be just slightly smaller than the eyelet to keep it in place.

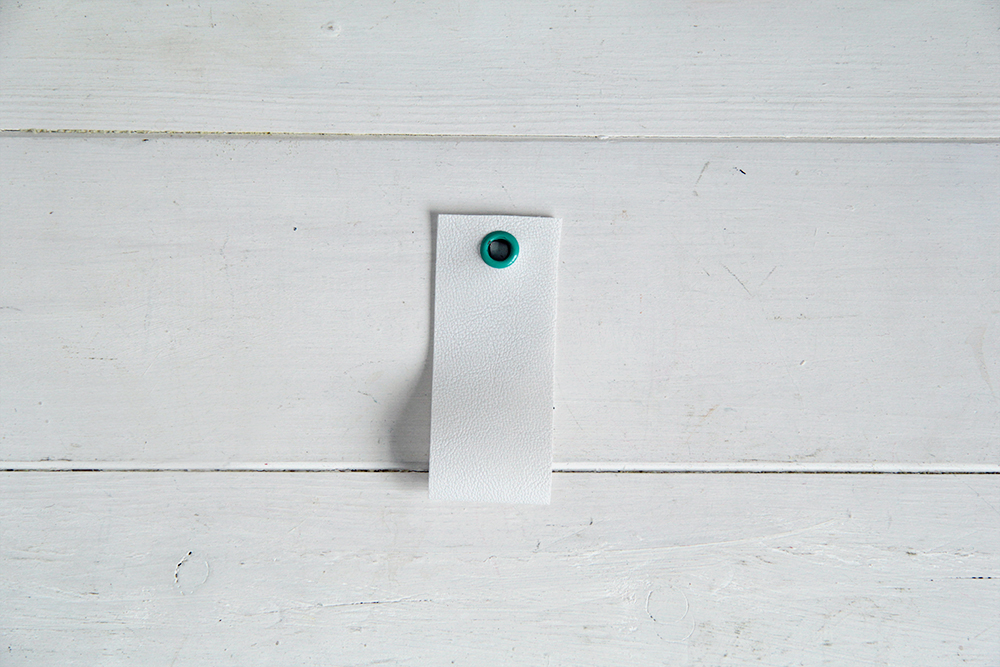
Step 4: Eyelet
Push the eyelet through the hole and pop a washer onto the back of the eyelet.

Step 5: Hard surface
Find a steel bench block or hard surface and lay the tab down with the back of the rivet facing down. Take the hammer and gently tap it down just a few times until the eyelet in secured in place.
Make as many of these as you need to hang all of your jewelry. You can use colour combinations of leather and eyelets to create your own unique and colourful displays. Or keep it clean and let the jewellery do the talking!


The post Wall Mounted Jewelry Organizer – DIY Leather Strap appeared first on Home Decorating Trends - Homedit.